Diastatic Doughnuts
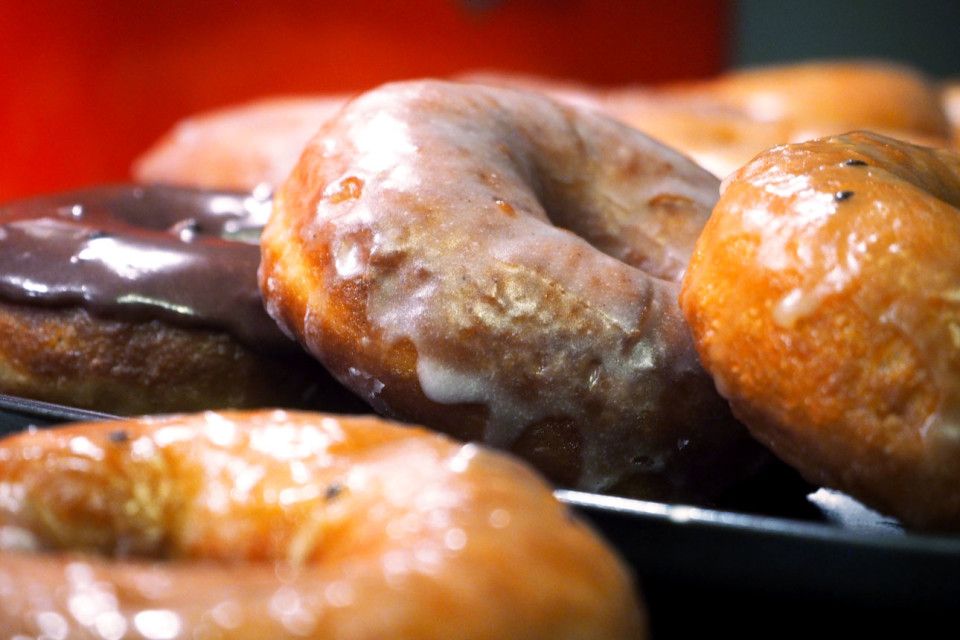
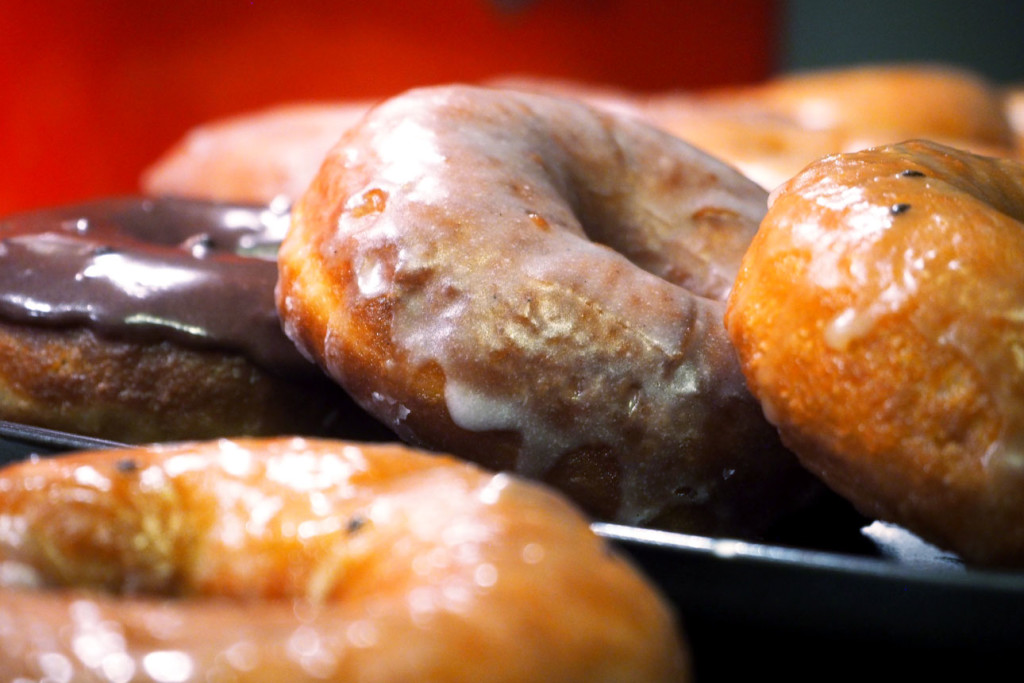
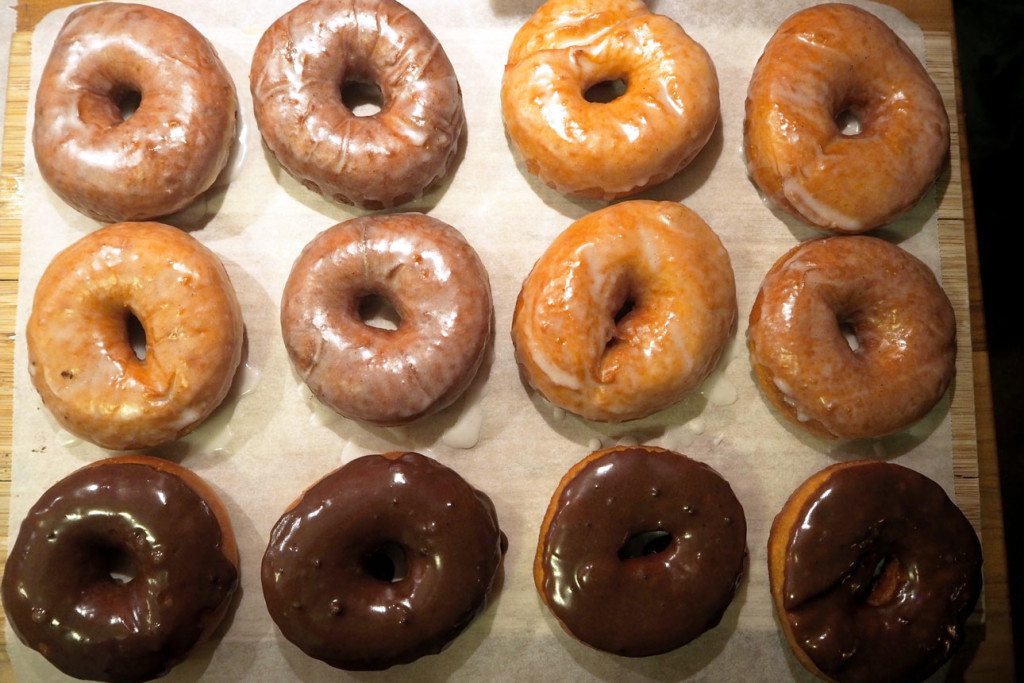
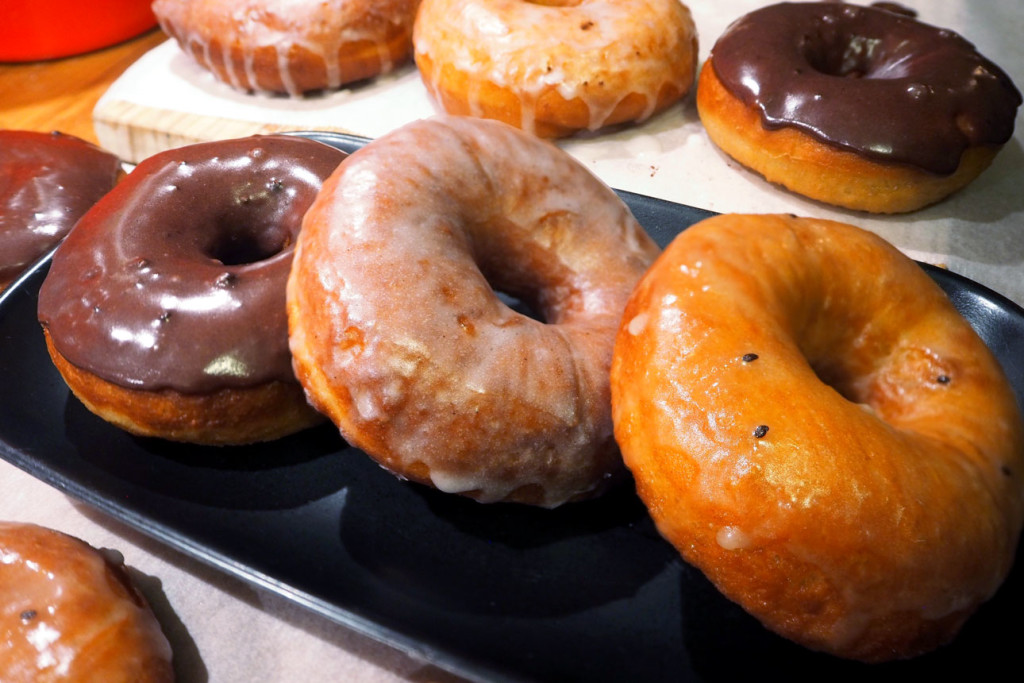
Who doesn’t like doughnuts? A lot of people. But for those who do like them, I’ve made the best doughnuts I know how to make. They have an amazing texture, all fluffy and soft, yet chewy and good at the same time. The trick is to have a very soft dough and to mix in diastatic malt.
Diastatic malt
Diastatic malt contains active enzymes, mainly amylase, that break sugar. The enzyme turns starches into sugars, which makes bread all fluffy and creates amazing crusts on bread. You can use it whenever you bake, but for doughnuts it’s extra because you want that fluffy soft perfect doughnut that American police officers get to eat. Sure, you can buy diastatic malt powder online, but why not make it yourself?
Ingredients for the diastatic malt
- whole wheat grains (the whole grains, not cleaned, not pre-boiled or anything, just dry and nice!)
- fresh water
- a glass jar
- something to grind it into a powder
Instructions to make the diastatic malt
- First, clean a jar (it needs to be very clean)
- Put grains into the jar and cover them in fresh water
- Let stand for 10-12 hours.
- Pour out the water, clean them with fresh water, and pour that out too.
- Let the wet (not water covered this time!) grains stand in the jar for about 4-5 hours covered with a cloth.
- Every 4-5 hours, clean them with new fresh water, pour out the water, and let the grains stand all wet for 4-5 hours. That means you need to repeat the rinsing process 2 times per day, morning and evening.
- After about 24 hours you’ll start seeing sprouts coming out of the grains. Keep on repeating step 6.
- When the sprouts are about as big as the grain, you have diastatic malt. It’s filled with wonderful amylase enzymes. If you see any fungus, it means your jar wasn’t clean! Redo, don’t eat it!
- Spread the sprouted grains on a clean surface and let it dry for at least 48 hours until they are very very dry all way through.
- Finally, if you have a coffee grinder, you can easily make this into a powder. Just make sure the grinder is clean so you don’t get coffee in there. If you don’t have a coffee grinder, then there are different ways of doing it. You could use a mortar, but it’s heavy work as these dried grains are very hard. You could put the grains in a food processor and let the blades roll. It takes a long time. A third alternative is to use a cheap pepper mill, just clean out the pepper by grinding some rice, and then you’re good to go. It takes time, but it works. Whatever method you choose, run the powder through a sieve before using it to make sure no big pieces of grains remain.
The doughnuts
Ingredients for the doughnuts
- 80 g of butter
- 30 g of canola oil
- 500 g of milk
- 20 g of dry yeast
- 940 g of flour (the dough should be very lose, but still hold together, so if it’s more of a liquid batter, you might need to add a tiny amount of more flour, but be careful, too much flour and it becomes a compact bread)
- 170 g of sugar
- 2 large eggs or 3 small ones
- 6 g salt (about two pinches)
- 50 g diastatic malt (see instructions above)
Instructions to make the doughnuts
- Melt butter with oil and milk.
- Make sure the mixture isn’t hot, add the eggs and mix it all up. If the mixture is hot, your eggs will coagulate and you’ll ruin everything.
- Use a thermometer and raise the mixture’s temperature to 40°C.
- Mix in the yeast, and let it stand for about 10 minutes to activate it.
- Add sugar, flour, salt and diastatic malt powder into the yeast mixture. Make sure to sift the flour and malt powder!
- Kneed the dough for 20 minutes in a machine. At first it will look very lose, almost liquid. But slowly it will come together. You want a very, very, very soft dough. If it doesn’t come together at all, but rather looks like a batter even after 15 minutes, then you might need to add a little more flour. It all depends on what kind of flower you have. But add very little at a time or you’ll end up with compact doughnuts!
- Cover with plastic film (you can spray the plastic film with oil to prevent the dough from sticking).
- Put into the refrigerator. The yeast will do its job in the cold. It will take longer than in room temperature, but it will develop much better yeasty flavors if you let it take its time.
- When the dough has doubled in size, put it on a flat floured surface.
- Flatten the dough to about 2,5 cm using a rolling pin. It helps a lot to use two books on each side of the ruling pin to flatten it all evenly.
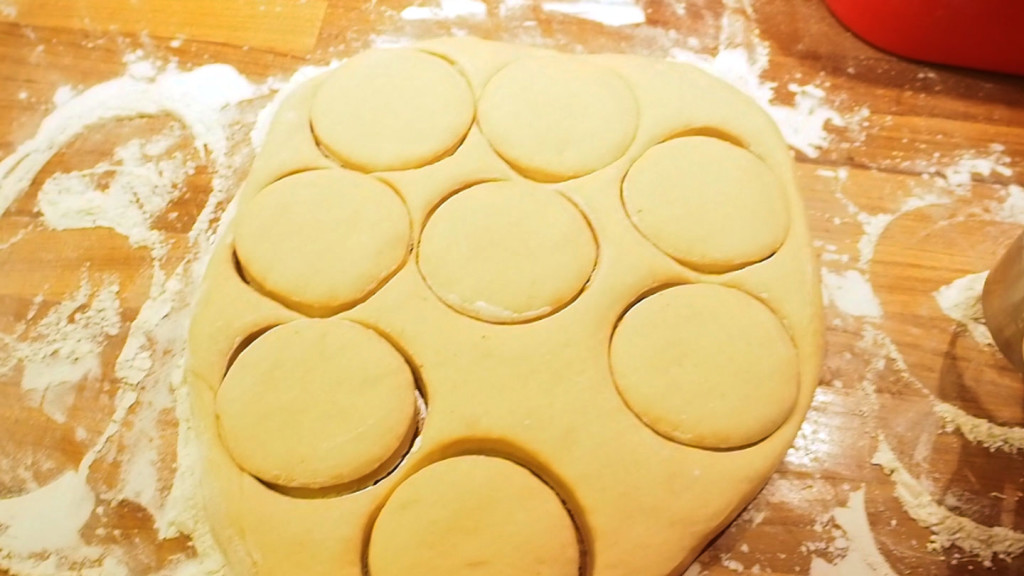
- Use two ring molds of any kind, but the finer they are the finer the edges will be. One large and one smaller. Cut out the doughnuts. Save the balls from the doughnut hole to make another cake.
- Let the doughnuts proof on a oven paper at room temperature until they double in size. It takes between 30-60 minutes depending on the temperature in your room.
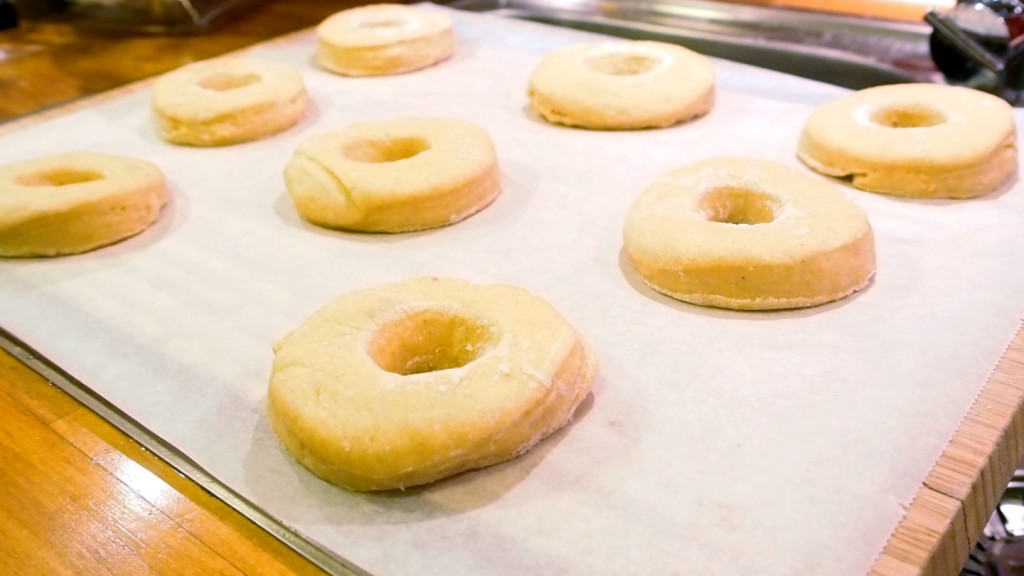
- Heat up vegetable oil (don’t use olive oil, you need an oil made for deep frying that can be heated to 170°C. Now, use a thermometer and het it up to 170°C. It’s difficult to maintain a constant temperature without using a huge deep fryer, but that’s not a problem. Just aim at 170°C, and let it fluctuate between 160-180. But no less an not more than that!
- To facilitate the moving of doughnuts from the table to the oil, I recommend you cut squares around all the doughnuts. Then you can just lift them up individually with the paper.
- Fry for 80 seconds per side. You can easily turn them around using a chopstick through the hole.
- Let the doughnuts cool down for a couple of minutes because if they’re too warm the glazing won’t stick.
The glazing:
- 100 g of milk
- A pinch of salt
- 400 g of powdered sugar
- Anything you wish.
- Mix the milk, salt and powdered sugar.
- Add anything you like. My favorite is a simple vanilla glazing, just a dash of vanilla powder or the content of a vanilla pod, and I’m set. Like chocolate? Add a couple of scoops of chocolate powder. Want a fruit flavor? Just puré a kiwi and mix it in. Just keep in mind that adding too much dry flavoring calls for a little more milk. Adding too much liquid flavoring (such as fruit puré) calls for a little less milk. You’ll figure it out.
- Put a doughnut in there, lift it up and place it on a flat surface. The glazing will slowly pour down along the sides and you’ll absolutely love it!

