The only pizza recipe you need
The romans used to eat a dish called placenta, a flat bread with cheese and honey on top, flavored with bay leaves. Much like some varieties of the Indian naan bread. Today, pizza is eaten all around the world, and its varieties are vast. The American style pizza recipe often refers to a pizza with a thick crust. In north of Europe, the thick pizza is often referred to as a “pan pizza”, even though cooking a pizza in a round pan is rather a “Chicago style” pizza, if you ask Americans.
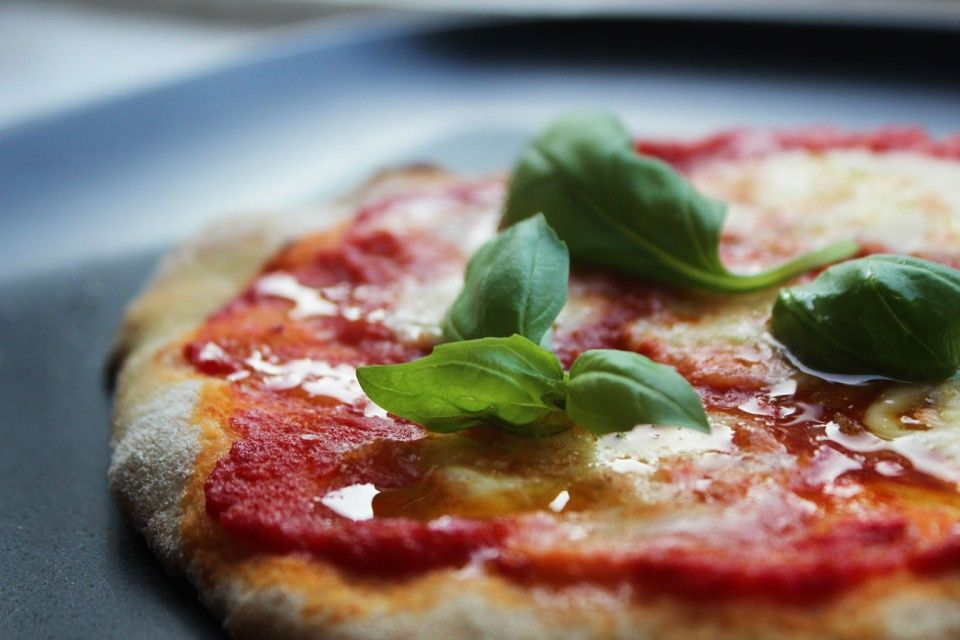
When the Americans want a thin crust, they say “Italian style crust” or specify that they want a “thin crust”. However, the very thin crust on an “Italian style pizza”, isn’t really what you’ll get if you go to Naples and order a pizza from one of the many historical pizzerias. They’re often quite “puffy”. And if you go to a random pizzeria in Italy, you’ll often find squared slices, from a whole pizza made in a pan, “pizza al taglio”. A pan pizza, if you will. The most basic Italian variety, is the Margarita, topped with tomatoes, mozzarella cheese and basil. It’s my favorite pizza recipe, but everyone has their own preferences.
If you ever go to Sweden, you’ll notice that the list of pizza names is very, very long. Hawaii, capriccios, and what not. The Marinara in Sweden, for some reason, is covered in shrimp and clam. In other words, far from what a marinara is in Italy; a bread flavored with sund dried tomatoes and olive oil. No cheese in the traditional pizza sense. A very common Swedish pizza is the “kebabpizza”, a pizza topped with döner kebab meat, and dairy based garlic dressing. It’s not as bad as it sounds, kind of like a flat döner kebab with cheese. What is as bad as it sounds, however, is the Swedish pizza with chicken, curry and banana on it. You’ll find it in any random pizzeria in Sweden, often under the name “kycklingpizza“, which simply means “chicken pizza”.
Let me quote Wikipedia: “A popular contemporary legend holds that the archetypal pizza, Pizza Margherita, was invented in 1889, when the Royal Palace of Capodimonte commissioned the Neapolitan pizzaiolo (pizza maker) Raffaele Esposito to create a pizza in honor of the visiting Queen Margherita. Of the three different pizzas he created, the Queen strongly preferred a pie swathed in the colors of the Italian flag: red (tomato), green (basil), and white (mozzarella). Supposedly, this kind of pizza was then named after the Queen as ‘Pizza Margherita’, although recent research casts doubt on this legend.“
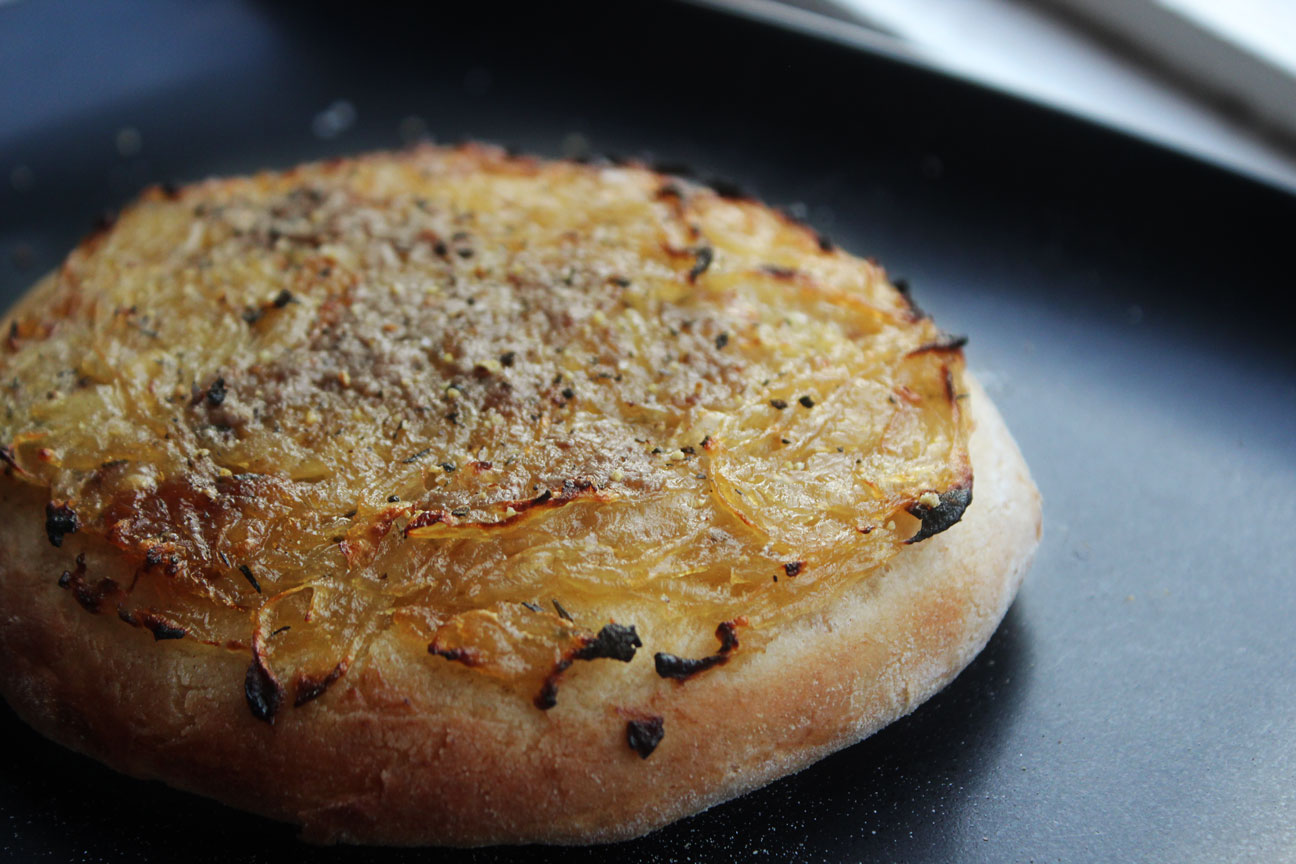
Legend or not, I’ve taken the best from all pizza recipes I’ve tried, and combined them into one. The dough is heavily inspired by the British cook Heston Blumenthal’s recipe, where he lets a pre-dough “over-leaven”, so that its growth capability is killed, but its flavor is full of yeasty tones, and an almost sour-dough like fragrance. This pre-dough is then combined with a fresh dough, that gives the pizza the chewiness and crunchiness we all expect, and that makes it rise in the oven. This pizza recipe can also be used as a base to make the delicious French pissaladière.
As for the tomato sauce, I use a anchovy or sardine paste. It’s a common ingredient in the Italian kitchen to enrich stews and sauces. It’s salty, and packed with umami flavors. Don’t worry, the tomato sauce won’t have a taste of fish. Just don’t put in too much.
Start with a finely ground wheat flour (called tipo 00 in Italy), and make sure it has a high protein count (12% is lovely).
You need to start working on this pizza recipe 48 hours before you plan to treat your friends with home made pizza. It yields about 8 small pizzas, or 4 medium ones.
Day 1, you’ll need
- 120 g of flour (the “tipo 00” equivalent)
- 70 g of cold water (100 grams per dl if you prefer volume, I just happen to weight stuff)
- 1/2 tsp of malt syrup
- 4 g of bread yeast (the dried kind)
Day 1 you’ll do this
- Mix flour, syrup, and water. In a large bowl. In case you wonder, the malt syrup is not only to quickly feed the yeast, it’s also there to give the pizza dough a rich flavor and scent. It has almost a sourdough tone. The reason I’m not using sourdough, is because I actually prefer the texture of a yeast based pizza dough. One can of course mix sour dough and yeast, but let’s save that one for another recipe.
- Run it in a kneading machine for 4 minutes (unless you have strong hands, in which case it will probably take you closer to 10 minutes).
- Leave the dough to rest for 15 minutes, or even longer than that. The osmosis (you know, the effect that makes water “climp” up flours and trees) will make sure the water spreads throughout the dough. It should be quite dry, tacky and elastic, if it’s not, let it rest for another another 5-15 minutes.
- Now add the dry yeast, and mix for another 4 minutes.
- The pre-dough is ready, and is now to rest in the refrigerator for 48 hours. The yeast fungus will multiply like crazy, and the lump will have a distinct and wonderfully yeasty smell to it, and that flavor is what we’ll be using for our main dough in two days from now.
Day 2 (well, actually 3) you’ll need
- 350g of flour (the “tipo 00” equivalent)
- 200g of cold water
- 5 g of dry bread yeast
- 1 tsp malt syrup
- 1 tsp of salt
- 400 grams of canned tomato (I prefer the canned pulp, that’s what I’m using)
- A dash of extra virgin olive oil
- 1/2 garlic clove
- 2 tsp of anchovy paste
- 2 tbsp of concentrated tomato paste
- 300 grams of fresh buffalo mozzarella
Day 2 of the pizza recipe, you’ll do this
- Mix flour, syrup, and water in a large bowl, just like day 1 but with other quantities.
- Run it in a kneading machine for 4 minutes (unless you have strong hands, in which case it will probably take you closer to 10 minutes).
- Leave the dough to rest for 15 minutes, or even longer than that.* It should be quite dry, tacky and elastic, if it’s not, let it rest for another another 5-15 minutes.
- Add the dry yeast, the salt, and the lump of dough from the day before yesterday. Mix it all for another 4 minutes.
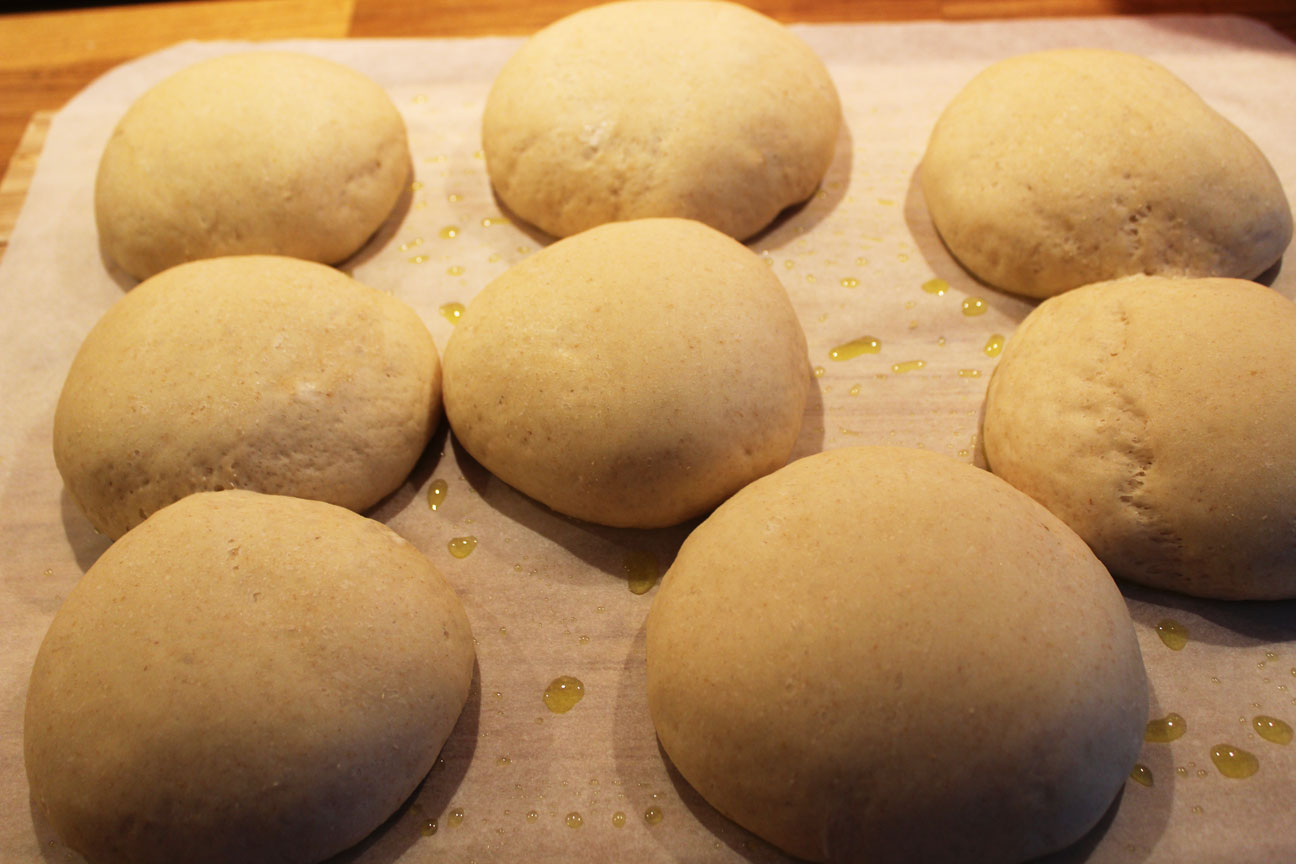
- The wonderful pizza dough is ready. Make around 8 balls, and set aside to let them double in size. Meanwhile, prepare the sauce.
- Mince the garlic and fry it in olive oil.
- Add the tomato paste and the anchovy paste.**
- Add the sugar, we need some extra sweetness here. No salt, the anchovy paste is already salty.
- By now, the dough balls have probably doubled in size. It is time to roll them into flat round pizzas. You don’t need a rolling pin, use your hands!
- Heat the oven to its maximum (most commonly in household ovens, 250 degrees Celsius)
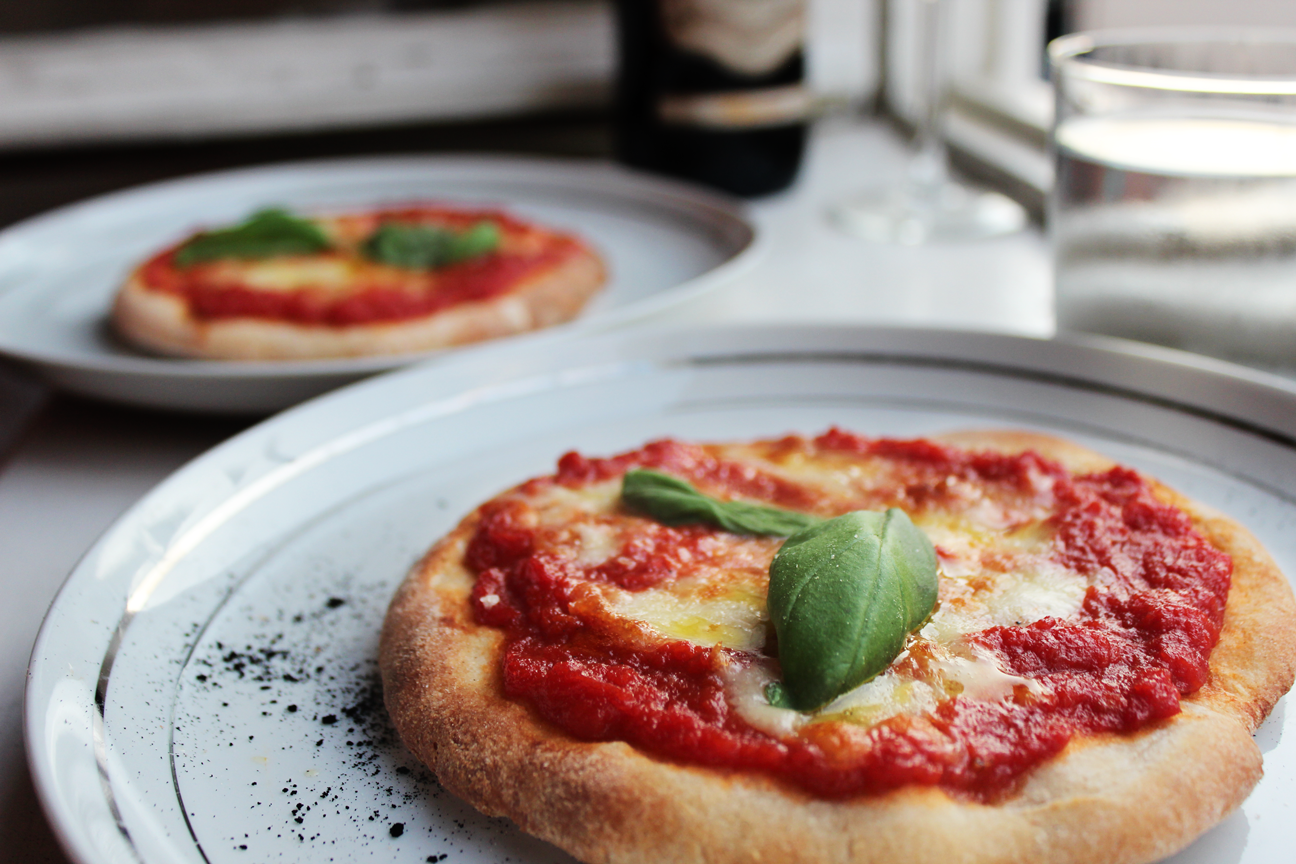
- Start with a thin layer of tomato sauce, rip some mozzarella on top of it, and shove the pizza onto a hot pan with a baking sheet in between. Not a cold pan, that will steal too much of the heat energy. We want to cook this wonderful food as quickly as possible, with heat from the bottom and top.
- After about 2 minutes, the crust has some color, the cheese is melted, and everything around just smells wonderful. Take the pizza out.
- Drizzle some good extra virgin olive oil on top of the pizza, top with some fresh basil leaves, and finish of with a tiny pinch of smoked salt. Smoked salt will give you hat hint of smokiness that you’d expect from a wood oven, but not everybody has those in their own kitchen.
Enjoy the pizza!
Recipe notes
* The osmosis (you know, the effect that makes flours and trees “suck up” water) will make sure the water spreads throughout the dough.
** Yes, the anchovy paste is important, it takes the sauce to a whole other level. It’s salty and packed with umami. Wonderful!